FORGOT YOUR DETAILS?

Board & Binding Setup Tips for PRO Series

Your new bindings work best on a dialed-in board setup.

Check Your Board Setup

For puck compatible factory splitboards.

Spark Puck and Canted Puck Setup:

  • For Spark Puck setup please see the instructions included with your packaged pucks or click here to download Spark Pucks Instructions.
  • Setup is slightly different for Spark Canted Pucks click here to download Canted Pucks.
  • For other puck brands please refer to the manufacturer’s website for setup instructions.

Puck Troubleshooting (all brands)

  • The outside length from puck to puck should be 7 ⅝” (19.35cm).
  • The bindings should slide on easily. If it feels like they are jamming, check your puck alignment and make adjustments as necessary.
  • If your pucks are brand new, the fit might feel tight but will break in after just a couple of times changing over.
  • If still too tight sand lightly on the top and sides of the pucks with the included sandpaper. Check fit while pucks are wet.
  • With the bindings on the pucks in ride mode, you should be able to easily snap down the toe ramp. If you can’t, loosen the screws and nudge the toeside puck in slightly.

ST Touring Brackets:

  • Attach the ST touring brackets with the M6x10mm screws (the longer screws with button heads - you will have 6 of these). First, insert and turn the three screws a few times but don't fully tighten. Once all screws are in loose you can continue turning one at a time until they are fully tightened.

Heel Rests:

  • Orient the heel rests so that the arrow points toward the nose of the board. Attach the heel rests with the M6x8 screws (the shorter screws - you will have 4 of these).
  • If you have a DIY splitboard using ski screws, you will need to use 5.5 x 11.5mm ski screws for the heel rests. Longer screws that are typically used for DIY setups are too long and will bubble your base.

You are now the proud owner of Spark R&D PRO bindings
the lightest and highest performing splitboard bindings in the world. There are many custom components on these bindings, from carbon reinforced nylon highbacks to aluminum heel loop screws, Pebax straps to hollow pivot pins. If you ever need service or spare parts please mention that you have PRO bindings so that we can get you styled out with PRO parts.

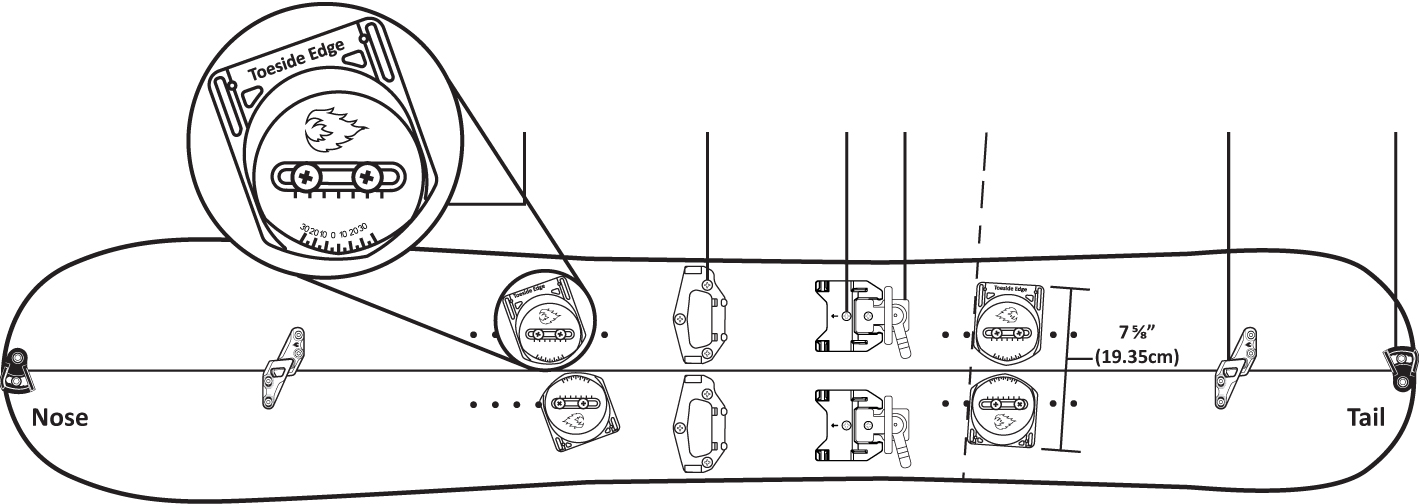
Pro bindings use high-performance custom aluminum screws.
Please be precise in their placement and slowly tighten as you go.

OUR BINDINGS ARE FULLY ADJUSTABLE!

If the fit is not perfect out of the box, use the included Spark pocket tool to adjust toe and ankle strap lengths, heel cup position, and highback rotation. Then throw the tool in your pack so it’s always with you when you’re out in the backcountry.

Check to see that your screws are tight from time to time for uninterrupted shredding.

*OTHER SPARK PRODUCTS

Fixie Clips

Features a sleek, lightweight aluminum design with no moving parts. They are stiff, simple, have built-in adjustability, and require no rotation. Just put your board together and go!

Tip & Tail Clips

Our tip and tail clips offer a custom fit to match the variability in any board. With five progressively tighter notches you can get your board as tight as you want.

T1 Step Lockers

Allows splitboarders to lock down their heel in tour mode to better adapt to diverse split-skiing terrain. Lockers attach to the heel rest. Rotate the lever to lock. Rotate lever back to release.

Spark Pucks

Getting to know your pucks.

1. Aluminum Disks

Oversize aluminum center disk overlaps binding channels for maximum strength and rigidity.

2. Yellow Patch Screws

8 x M6 x 16mm Flathead Screws. +1 extra for your hardware stash.

3. Toeside Pucks

For placement on the toeside edge of your board.

4. Mini Alignment Tool

For use with Arc, Magneto, and Burton Hitchhiker bindings.

5. Heelside Pucks

For placement on the heelside edge of your board.

6. Full Alignment Tool

For use with all Spark R&D & Burton Hitchhiker bindings.

Spark Pucks Instructional Video

Watch and learn.

TOP