- GEAR
- SPARE PARTS
- Backcountry Kit
- Pro Backcountry Kit
- Binding Hardware Kit
- Pro Binding Hardware Kit
- LT Bracket
- Snap Block
- ST Bracket
- T1 Heel Rest
- Ankle Buckle
- Toe Buckle
- Ankle Ladder
- Toe Ladder
- Ankle Adjuster
- Toe Adjuster
- Vert Pucks
- Stainless Steel Pin
- Mini Puck Alignment Guide
- Puck Alignment Guide
- Spark Skin Trimmer
- BINDING TECH
- FAQs
- DEALERS
- TEAM RIDERS
- CONNECT
- ABOUT US
- CONTACT US

Dedicated to pushing innovation in splitboarding since 2006.
866.725.2085
Email: sales@sparkrandd.com
Spark R&D
P.O. Box 3284, Bozeman, MT 59772 USA

Snowpit Analysis: A Refresher on Key Observations
Words: Rachel Reich
When you think about evaluating the snowpack, digging a pit is a direct way to observe what the snow is doing in a given area. A snow pit is a crucial tool in assessing what we think is going on and verifying it or gathering more information to answer a specific question about the snowpack. If you’ve taken your Avalanche Level 1 or higher, you’ve stood inside the cold depths of one of these and dissected it. Unfortunately, like many things, without practice, we get fuzzy on what exactly we need to look for each time we dig.
Before you even begin to dig, ask yourself what you expect to find or see based on the weather patterns so far and the area you’ve selected. Is there a problem layer you think might be reactive? Remember that pretty surface hoar from a few weeks ago, do you know where it’s sitting and on what aspect? What specific questions are you trying to answer by delving into the snowpack? It’s helpful to approach your pit like an experiment. You have an idea of what you might find and when you dig you will either prove or disprove it, giving you more information to assess your ski terrain and potential hazards moving forward.
With that in mind, here are a few of the top things to look for when analyzing your pits.
1
Spot the Obvious Layers
When you start digging, note the most obvious things you’re seeing in relation to the snow. Problem layers can often be seen or felt as you start to dig out your pit. An ice layer is going to feel hard as you try to dig through it, just as noticing a clean sheer on a buried surface hoar layer can grab your attention as it continues to break at the same spot. Note what jumps out at you immediately. Is it what you expected or is it something you weren’t anticipating? Every step in digging your pit can give you information on how the snowpack is currently reacting. Observe any possible problem layers and mark them for further investigation on both your observation wall and in your backcountry journal.

Spot the Obvious Layers
2
Identify the Differences in Hardness
This is a step that can easily be forgotten but is important. On your observation wall, identify the difference in hardness of your layers in the snowpack as measured by Fist, 4-Fingers, 1-Finger, Pencil, Knife, Ice. Thinking of the snow as a layer cake, you’ll be looking for noticeable differences; like an ice layer over facets, or a harder, denser layer sitting on top of a layer that could act as a sliding surface. This combination indicates the potential recipe for a slab and a surface for it to fail on.
Other things to look for are differences in snow density, especially between two recent storms. For example, if a denser, heavier layer is sitting on top of a lighter layer (upside down snow) you could have a slab and a failure at the density interface. Or if you find a harder wind slab sitting on top of a sun crust, ice layer or change in snow hardness, you’ll want to examine that closer. Identifying the different hardness layers can immediately bring your attention to a layer that’s suspect or has the potential to fail. Pay attention when you find these and mark the different layers in your backcountry journal and also by creating an indentation in the observation wall itself. It’s also helpful to understand where each layer lies within the snowpack and if it might have the potential to be reactive in the future.
Here is a good link if you need a refresher on testing layers - https://youtu.be/vLFUvYE9nVI?t=2m8s

Identify the Differences in Hardness
3
Snow Stablility Tests
Once you’ve identified the layers within your pit and potentially highlighted some that could be problematic, it’s time to test stability and reactivity. The two most common stability tests are a compression test and an extended column test.
- The CT or compression test is a good place to start your stability tests. They are even more helpful if you have time to do more than one or you’re doing a variety of tests over the day as it’s easily repeatable. To refresh your memory, a CT is an isolated 30cm wide x 30cm upslope column.
- The ECT or extended column test is most often the standard to observe the tendency for a layer to fail and propagate. The ECT is a 90cm wide x 30cm upslope isolated column. The width of the column serves as a better observation tool for the probability that a weak layer will propagate and to what extent.
As a refresher, each test consists of 30 total taps; 10 from the wrist, 10 from the elbow, and 10 using the entire arm from the shoulder. It’s helpful to have one person tap while a partner watches for cracking. During both tests, you are looking for a failure within one of the layers and if there is propagation across the entire column with that failure. A propagation suggests the ingredients for not only that layer to fail but for it to fail across a larger area resulting in an avalanche.
As you perform your test note which layer(s) failed, whether propagation occurred and on what number of taps. Record your results as ECT, P for propagation, N for no propagation, or X for no results with the number of taps. For example, ECTP23 means in your extended column test you had a failure and propagation at the 23rd tap. Make sure you record where (how many cms deep) and on what layer the failure occurred, noting the interface.
Taps translate to the force or weight needed for a particular layer to fail which can identify additional red flags. It’s easy to walk away if you’re seeing a clean propagation result after a few taps indicating that it wouldn’t take much to initiate a slide. But, what if you’re getting results on 25, 28 or even 30? It could in some cases (especially if you’ve been tracking a specific layer) indicate that the snowpack is gaining strength over time, which is a good thing. Keep in mind though, a consistent failure at a higher level of force or weight creates the situation where a false sense stability could lure you into larger terrain with fatal results if it fails. This is often seen with persistent slab layers and can be viewed as a potential ticking time bomb.
No matter what, if a block pops out at you with energy during a stability test (especially if it happens more than once) it’s going to be a low angle pow day. Any failure and propagation that moves with energy is a bright red warning sign that things are primed to go big or even be triggered remotely.
Finally, one test is not enough to give you a full picture of the problem. Note that with additional tests you can verify a repeating result or lack of one like a typical science experiment. That said, getting no result does not automatically mean you’re in the green. Dig on different aspects and elevations to see if there are reactions elsewhere. Always be suspicious.
Example of a CT and an ECT - https://www.youtube.com/watch?v=ambm3vNrhxs

Snow Stablity Tests
4
Results and Next Steps
Based on what you’ve observed from your pits and stability results, you should have a better understanding of how the snowpack is reacting in your chosen area. Once again, the lack of a result in one snow pit should never be a green light to ride suspect terrain, but it should give you additional information to support your plan and comprehension of the current snowpack behavior. Next steps would be to document your findings in a notebook throughout the season, continue to dig pits on a variety of aspects and elevations, and use that information to forecast a full picture for yourself.
It’s also never a bad idea to consider a refresher avalanche course or continuing education clinic. Over time standards evolve to more efficient and effective tactics; learning the most up-to-date processes for snowpack analysis helps keep you on top of your game. Not to mention it gives you the opportunity to learn new tricks!

Rachel Making Observations
Summary
Although it can feel time-consuming, making the effort to dig snow pits and track problem layers over the season gives you a great idea of what you can ride and when especially in relation to consequential terrain. Do yourself a favor, take a sunny “rest” day and go dig some pits with your friends to see what you find. It’s great practice and you’ll take away a deeper understanding of what you’re either about to go ride or will ride later in the winter.

About the Author
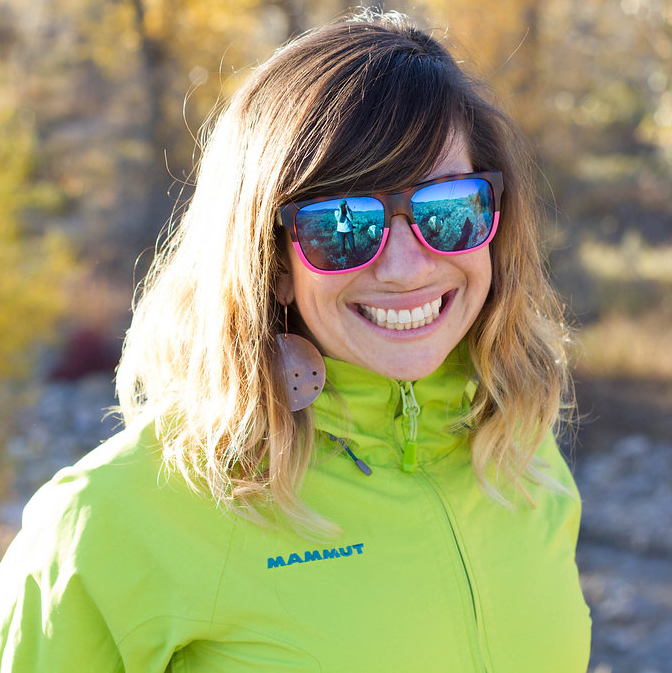 Rachel Reich is a splitboard mountaineer and marketing strategist based in Jackson, WY with notable descents in AK, WY, CO, UT, and Norway. When she’s not working, you can find her plotting her next mission or hanging out in the nooks and crannies of the Tetons. She has her Wilderness First Responder, is an athlete for Mammut North America, and spends upwards of 100 days in the backcountry each season.